Decorating for Halloween is more enjoyable when you are not searching for extension cords after dark or realizing too late that a prop blocks the walkway. A simple checklist helps you decide what to use, what to buy and where everything should go before setup begins.
The Halloween decorating checklist below covers indoor rooms, the front door, yard displays, lighting, electrical safety and storage. Use the complete guide for planning, then print the condensed checklist near the end and check off each task as you work.
Start With a Simple Decorating Plan
Before opening storage bins, choose the areas you actually want to decorate. A finished front porch and entryway usually look better than small, unrelated decorations scattered across the entire property.
Write down your main decorating zones, such as:
- Front yard or driveway
- Walkway and steps
- Front porch and door
- Entryway
- Living or party area
- Windows
- Dining or snack table
Next, choose one visual direction. You might build a family-friendly pumpkin display, a dark gothic entrance, a colorful party setup or a home-haunt scene. Repeating two or three colors and a few related props makes even an inexpensive display feel intentional.
If space is limited, our guide to Halloween decorations for small yards and front porches offers ideas that add impact without filling every available surface.
Inventory Decorations Before Buying More
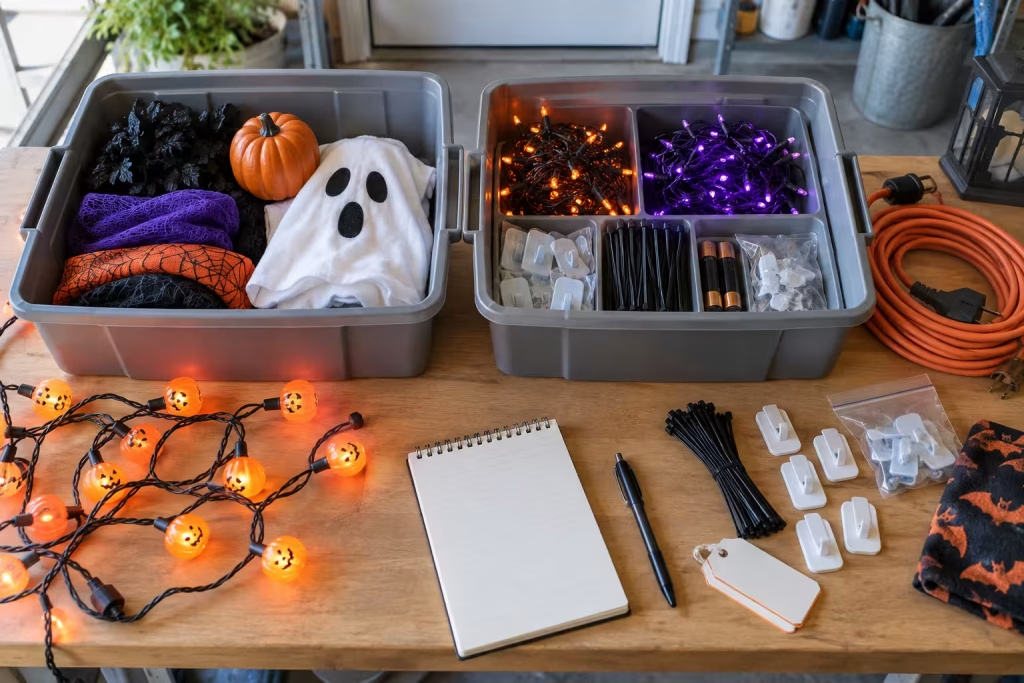
Bring out your Halloween storage bins and group similar items together. Separate lights, extension cords, hanging decorations, inflatables, tabletop pieces and outdoor props. This makes duplicates easy to spot and prevents unnecessary purchases.
Test every powered decoration before installation. Replace dead batteries, look for missing pieces and check cords for cracking, fraying or damaged plugs. Discard damaged electrical decorations rather than trying to hide a problem with tape.
As you sort, create three groups:
- Ready to use: Clean, complete and working.
- Needs attention: Requires batteries, bulbs, cleaning or a minor non-electrical repair.
- Donate or discard: Broken, badly faded or no longer suitable for your display.
Measure doors, windows, railings and the available lawn area before ordering new pieces. A wreath or window decoration can look much smaller online than it does in the product dimensions—or much larger once it blocks a door, peephole or handle.
Outdoor Halloween Decorating Checklist
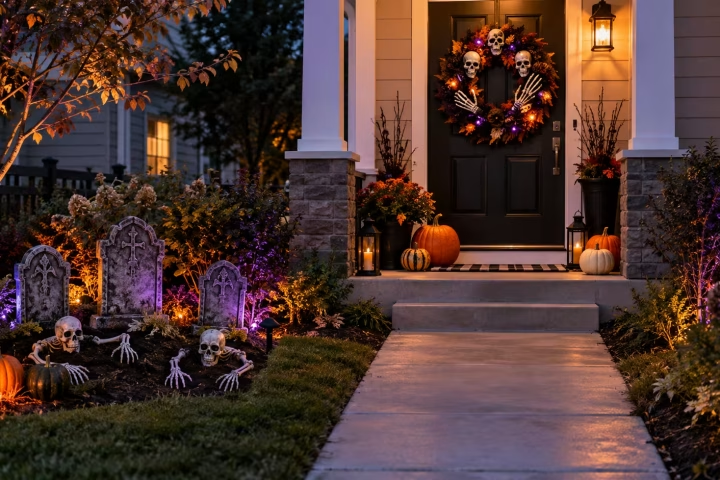
Begin with the largest outdoor elements so smaller decorations can support them. Position one primary focal point, such as a skeleton scene, group of tombstones, pumpkin arrangement or animated prop. Then add lighting and smaller accents around it.
Front Yard and Driveway
- Remove hoses, tools and other everyday clutter.
- Mark sprinkler heads, utility covers and fragile landscaping.
- Place large props where they will not obstruct drivers or pedestrians.
- Keep decorations away from the street and neighboring property.
- Secure lightweight props before adding small accessories.
- Aim spotlights downward or toward your own property.
Wind can turn foam tombstones, signs and hanging ghosts into debris. Use stakes, sandbags, discreet ties or weighted bases suitable for each decoration. Our guide to securing Halloween decorations in wind and bad weather explains how to anchor common outdoor props without making the display look unfinished.
Walkway, Steps and Porch
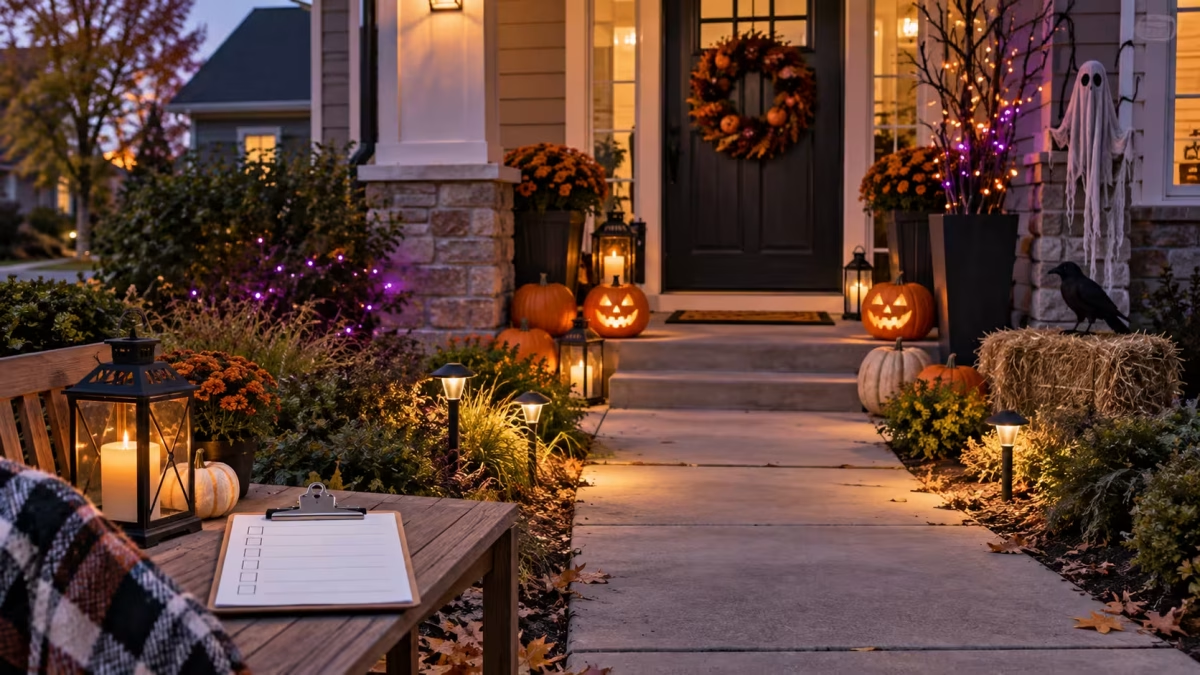
The route to the door should remain the clearest part of the display. Remove cords, low props and loose fabric from the walking surface. Make sure steps and changes in elevation remain visible after dark.
- Sweep the walkway and steps.
- Confirm railings are fully accessible.
- Keep extension cords out of the walking path.
- Use lighting to define steps and edges.
- Leave enough room for groups of trick-or-treaters.
- Check that decorations do not interfere with the door, lock or doorbell.
- Use battery-operated candles instead of open flames near visitors and costumes.
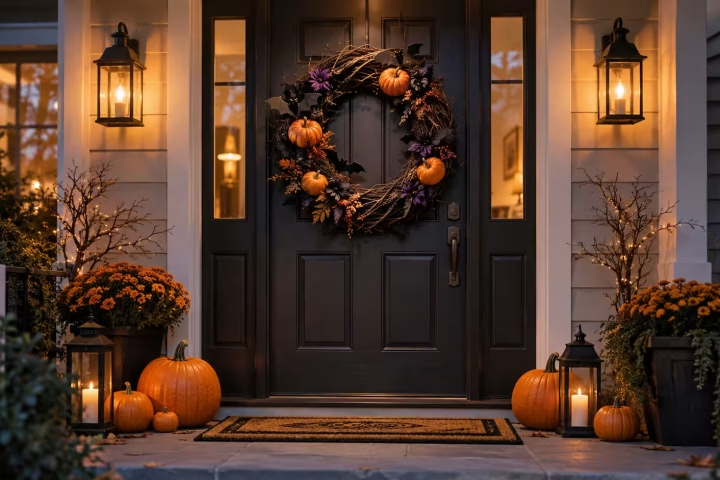
A Halloween wreath for the front door can create a finished entrance without using floor space. Confirm that it does not hit a storm door or cover the peephole.
Indoor Halloween Decorating Checklist
Indoor decorations should add atmosphere without making normal movement inconvenient. Start with the rooms guests will actually use, then skip areas that will remain closed.
Entryway and Living Areas
- Clear tables and shelves before adding seasonal pieces.
- Keep exits, hallways and stairs unobstructed.
- Anchor tall decorations that could tip.
- Keep small pieces away from young children and pets.
- Avoid placing decorations on heaters, vents or hot light fixtures.
- Use removable hooks or suitable hangers rather than overloading tape.
- Hide battery packs without blocking their switches or timers.
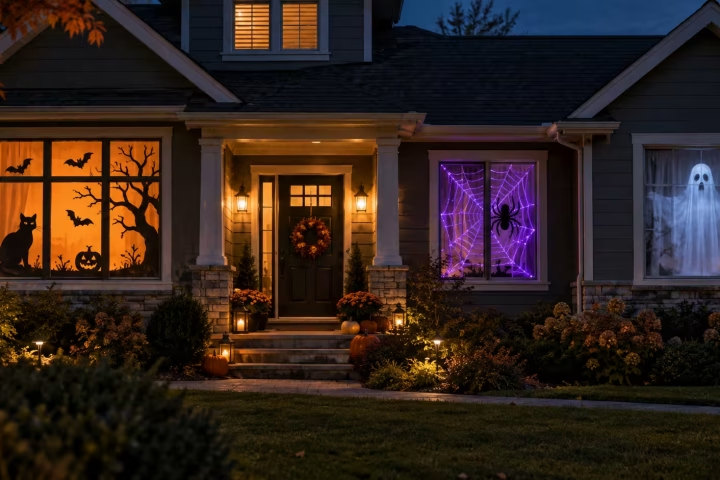
Window silhouettes, removable clings and indoor projection effects add curb appeal without taking up room indoors. See our Halloween window decoration ideas for options ranging from simple silhouettes to animated displays.
Party and Food Areas
Keep the serving surface practical. A centerpiece should leave room for plates and allow guests to see one another across the table.
- Wash serving pieces before use.
- Keep decorative materials out of food and drinks.
- Use washable or disposable table coverings where spills are likely.
- Keep cords away from chairs and serving paths.
- Place breakable decorations beyond the edge of the table.
- Set aside a visible container for wrappers and trash.
If the display is part of an event, use our Halloween party planning guide to coordinate decorations with food, games, lighting and guest flow.
Check Lights, Cords and Timers
Use decorations and extension cords that are marked for the location where they will operate. Indoor-only products should remain indoors, even on a covered porch, unless the manufacturer specifically permits outdoor use.
Do not connect more light strings than the manufacturer allows, pinch cords in doors or windows, or cover a cord where heat can build up. Outdoor connections should be protected from standing water and plugged into appropriate protected outlets. If you are uncertain about an outlet, circuit or damaged wiring, stop and consult a qualified electrician.
Timers and smart plugs can prevent the display from running all night. Our guide to smart plugs for Halloween decorations explains where automation is useful and why outdoor displays require outdoor-rated equipment.
For additional background, review the National Fire Protection Association’s Halloween fire-safety guidance before using electrical decorations or any heat-producing light source.
Complete a Final Nighttime Walkthrough
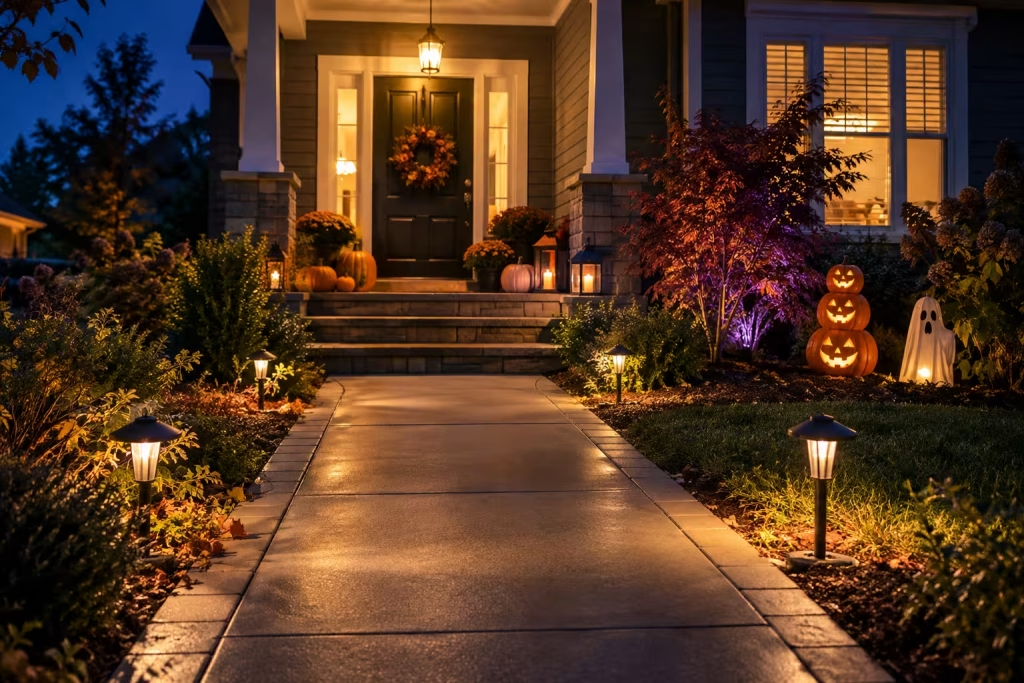
Inspect the display after sunset from three viewpoints: the sidewalk, the driveway and the route to the front door. A decoration that seems harmless during setup may create glare, a hidden step or a tripping hazard in the dark.
Walk the same path visitors will use and check the following:
- Steps, curbs and walkway edges are visible.
- Cords and stakes are outside the walking route.
- Motion props do not swing into visitors.
- Lights do not shine into drivers’ or neighbors’ eyes.
- The house number remains visible.
- Gates, doors and railings work normally.
- Pets cannot reach cords, candy or small decorations.
- The display can be switched off quickly if weather changes.
Ask another person to complete the walkthrough if possible. Fresh eyes often notice hazards or awkward placement that the decorator has stopped seeing.
Printable Halloween Decorating Checklist
Want a copy to use while decorating? Download and print the checklist, then keep it with your Halloween storage bins for next year.
Planning and supplies
- Choose the decorating zones and overall theme.
- Measure doors, windows, railings and yard space.
- Inventory existing decorations before shopping.
- Test lights, animated props and inflatables.
- Replace batteries and gather approved hangers, stakes and weights.
- Check the weather forecast before outdoor setup.
Outdoor setup
- Clear the yard, driveway, walkway and steps.
- Position the largest decorations first.
- Secure props against wind and rain.
- Keep decorations and cords out of walking areas.
- Light steps and changes in elevation.
- Confirm the door, lock, bell and railings remain usable.
Indoor setup
- Keep exits, hallways and stairs open.
- Stabilize tall or breakable decorations.
- Keep small pieces, cords and candy away from pets and young children.
- Keep decorations away from heat sources.
- Leave sufficient room on tables and serving surfaces.
Power and final review
- Use outdoor-rated products outside.
- Remove damaged cords and plugs from service.
- Protect outdoor connections from moisture.
- Set timers or a nightly shutoff routine.
- Complete a nighttime walkthrough.
- Recheck the display after wind or heavy rain.
After Halloween
- Remove batteries from decorations placed in storage.
- Clean and dry outdoor pieces completely.
- Label bins by location or decoration type.
- Note missing or damaged supplies for next year.
- Store the checklist with the decorations.
Download the printable Halloween decorating checklist as a PDF
Make Takedown Part of the Plan
Do not pack wet decorations directly into sealed bins. Allow fabric, foam, plastic and electrical pieces to dry completely. Remove disposable fasteners and damaged items so you do not rediscover the same problems next October.
Coil light strings and extension cords loosely, label them by location and remove batteries from items that will sit unused for months. A few notes about what worked, what failed and what you wished you had can make next year’s setup much faster.
The goal of a Halloween decorating checklist is not to make the display complicated. It is to help you finish the areas that matter, keep the route comfortable for visitors and store everything in a condition you will be happy to unpack next season.