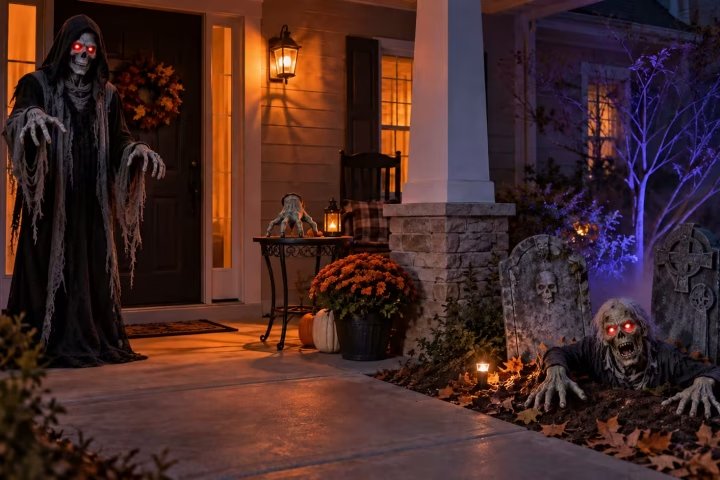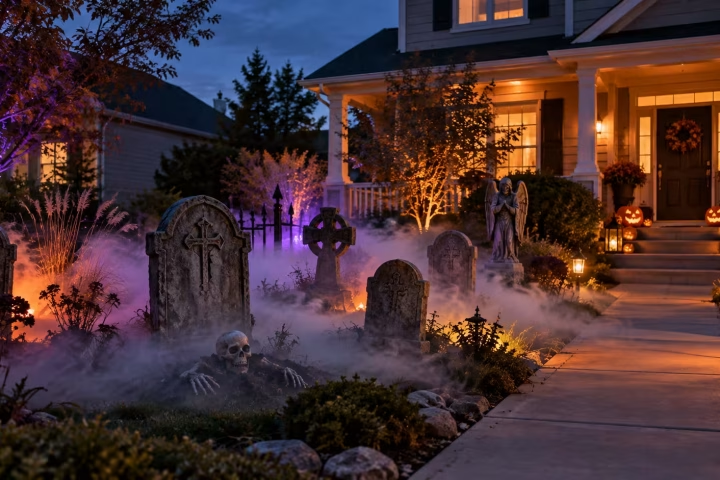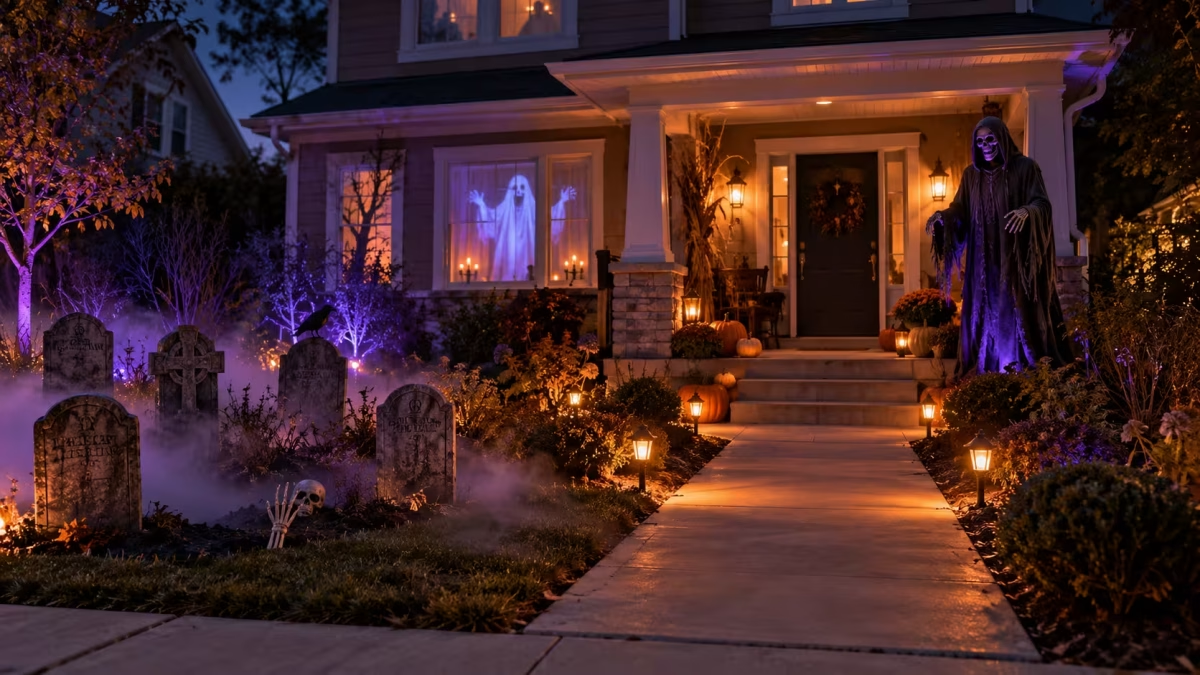
A home haunt does not need professional scenery or a yard packed with expensive props. The strongest displays guide visitors through a clear sequence: they notice a focal point, follow a safe route, encounter a few surprises, and reach the door without confusion.
This guide explains how to plan that experience using the space and decorations you already have. Start small, concentrate your effort where visitors will see it, and add lighting, sound, fog, projections, or animated props only when they support the scene.
1. Choose the Location and Audience
Decide whether the haunt will occupy a covered porch, garage, front yard, walkway, or one indoor room. A porch display can create an effective close-range scene with limited equipment. A yard provides more viewing distance but introduces wind, damp ground, extension cords, and neighboring traffic.
If the haunt will be part of a larger gathering, our guide to planning a Halloween party at home explains how to coordinate the layout with food, activities, costumes, and guest seating.
Also decide how frightening the display should be. Young trick-or-treaters may enjoy glowing pumpkins, friendly ghosts, and gentle movement. Older visitors may prefer darker lighting, sudden sounds, and more intense characters. Avoid placing an unavoidable jump scare directly beside the door if every visitor must pass it.
View the area from the sidewalk before decorating. Identify the first location that catches your eye and reserve it for the main character, doorway, graveyard, or other focal point.
2. Plan the Visitor Route First
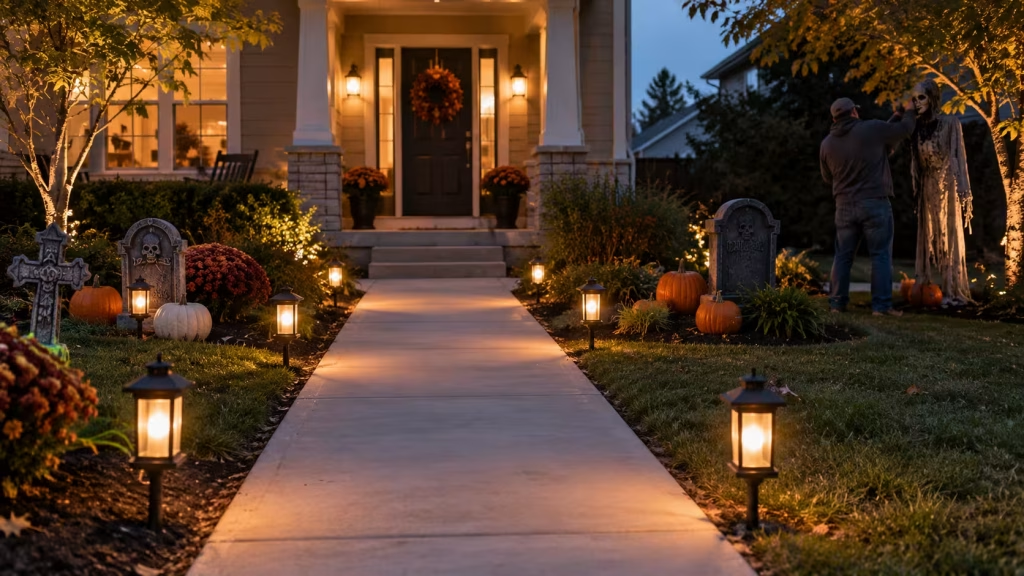
Before placing a prop, establish where people will enter, walk, wait, and leave. The route should remain visible and wide enough for adults accompanying children. Keep stairs, railings, address numbers, doors, and exits unobstructed.
Do not run loose cords across the path or place low props where someone may step backward onto them. Decorations that move, swing, or extend their arms need clearance from visitors. If the yard is wet or uneven, redirect people to the firmest route rather than hiding hazards with leaves or fog.
Our guide to securing Halloween decorations in wind and bad weather explains how to use stakes, weights, sheltered locations, and protected outdoor connections.
3. Divide the Haunt Into Simple Scenes
Instead of spreading unrelated decorations everywhere, group them into two or three recognizable scenes. A small haunt might include:
- A pumpkin-lit entrance
- A graveyard beside the walkway
- A character waiting near the porch
Give each scene one dominant element and a few supporting details. For example, three staggered tombstones, scattered leaves, one skeleton hand, and angled light will often look more intentional than a large collection of small props placed evenly across the lawn.
Leave some empty space between scenes. Darkness and separation help visitors recognize what they are seeing and prevent the display from becoming visual clutter. Our outdoor Halloween decoration ideas provide several scene concepts that can be adapted to different yard sizes.
4. Use Lighting to Direct Attention
Lighting should reveal important features without making the entire yard equally bright. Begin with practical illumination for the walking route, steps, and entrance. Then add accent lighting to faces, tombstones, trees, or architectural details.
Choose two or three colors and repeat them throughout the display. Orange creates warmth around pumpkins and doorways, while blue, purple, or green can separate graveyards and supernatural scenes. Position spotlights low or to the side to produce longer shadows, and aim them away from drivers, neighboring windows, and visitors’ eyes.
Test the display after dark from both the sidewalk and the front door. Our guide to the best Halloween lights for indoor and outdoor decorating explains pathway lights, spotlights, black lights, and other useful options.
5. Add Sound Without Creating Noise
Sound can connect several simple decorations into one scene. Use one background track or localized sound source rather than allowing every prop to play competing effects. Keep speakers close to the intended scene and begin at a low volume.
Motion- and sound-activated decorations should be tested together. Conversation, music, and another animatronic may trigger a sound sensor repeatedly. If several props respond at once, disable some sounds or increase the distance between them.
Respect neighbors and local quiet hours. A subtle creaking door, distant thunder, or wind effect can be more convincing than continuous screaming.
6. Use Fog as an Accent
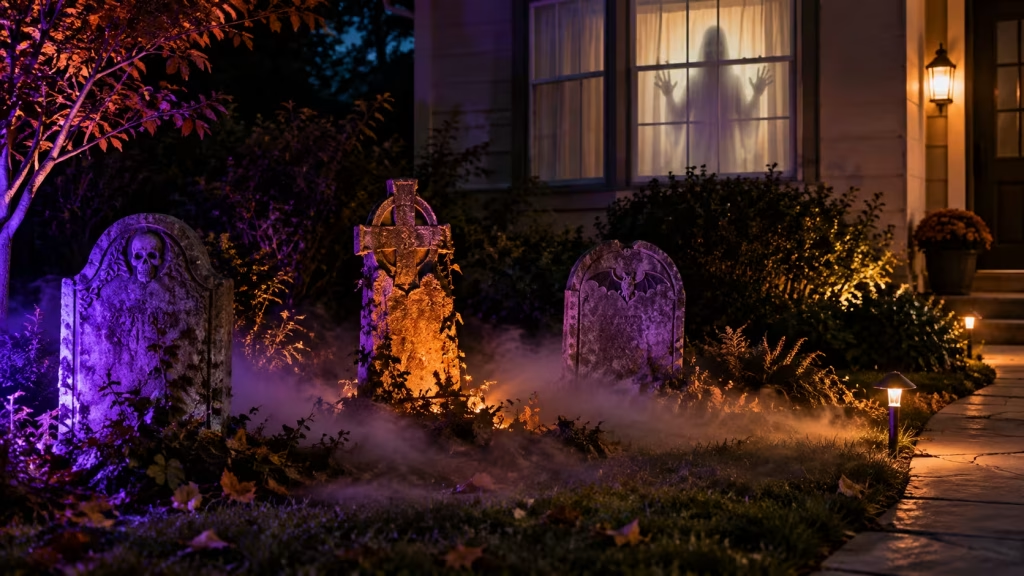
Fog works best when it reveals colored light or drifts through a defined scene. Place the machine on a stable, heat-resistant surface where visitors cannot touch its hot nozzle or trip over the cord. Never aim fog directly at people, pets, fabric, or props.
Outdoor wind may clear fog quickly, so test short bursts before deciding that you need a larger machine. Heavy fog can conceal steps and pathway edges. The Halloween fog-machine guide covers output sizes, controls, low-lying fog, fluid, and placement considerations.
7. Add Projections Where They Will Read Clearly
Window projections can create large moving characters without occupying the visitor route. Pattern projectors can cover a garage, wall, or group of trees, while atmospheric projectors add moving color rather than recognizable figures.
Projection surfaces should be relatively plain, and most effects look better after surrounding lights are reduced. Keep ordinary video projectors indoors or properly sheltered unless the manufacturer specifically rates them for outdoor exposure. See our guide to Halloween projectors for windows and outdoor displays for the differences between video kits, pattern lights, and atmospheric effects.
8. Use Animatronics Selectively
One well-positioned animated figure usually creates a stronger surprise than several props activating together. Place the main animatronic where visitors can see its complete movement without standing within reach of the mechanism.
Smaller crawling or tabletop props work best on controlled surfaces. Groundbreakers can support a graveyard scene, while a full-size figure can become the porch focal point. Our guide to Halloween animatronics for a home haunt compares three different prop styles and their placement needs.
9. Shop for Missing Decorations Carefully
Create a list only after planning the route and scenes. This prevents buying several attractive products that compete for the same location. Prioritize items that solve a specific need, such as pathway visibility, one focal character, or weather-resistant anchoring.
If you want to browse additional options, you can explore popular Halloween décor on Amazon. Availability, ratings, and prices can change, so verify the product dimensions, power requirements, weather guidance, and return terms before ordering.
10. Test the Complete Haunt
Run the entire display before Halloween night. Walk the route at a child’s height and an adult’s height, activate every moving prop, and watch for glare, loose fabric, unstable bases, hot equipment, cords, and areas hidden by fog.
Ask another person to walk through without instructions. If they hesitate about where to go, improve the pathway lighting or remove an obstruction. Check batteries, fluid levels, timers, remotes, and spare supplies before visitors arrive.
After the event, allow powered equipment to cool before packing it away. Dry damp fabric and props completely, remove batteries from seasonal devices, label small parts, and store delicate mechanisms where they will not be crushed.
Build the Experience in Layers
A memorable home haunt begins with a clear route and one recognizable scene. Lighting directs attention, sound establishes atmosphere, and effects such as fog, projections, and animatronics add movement only where it matters. Build and test one layer at a time rather than trying to use every effect at once.
That approach keeps the display easier to manage, safer for visitors, and more convincing—even when the haunt uses only a porch or a small section of the yard.